
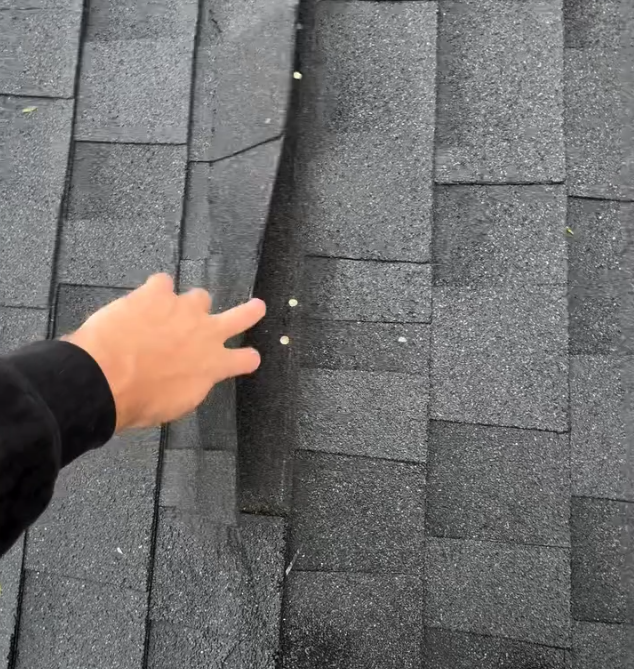
From the ground, a roof can look completely fine while hiding real problems. Cracked flashing, granule loss, or a small gap in the attic ventilation are all easy to miss with a quick glance, but any one of them can turn into a leak if it goes unnoticed long enough. A roof inspection checklist takes the guesswork out of the process, giving you a clear, repeatable way to check everything that matters instead of hoping you spotted the right things.
This guide walks through what to check outside and inside your home, how often to inspect, and when it makes more sense to bring in a professional.
Why a Roof Inspection Checklist Matters
A roof rarely fails all at once. It usually starts small, a curling shingle, a hairline crack in the sealant, a little extra granule buildup in the gutter, and gets worse slowly until it turns into a leak or interior damage. Catching these signs early is one of the most cost-effective things a homeowner can do, since minor repairs are almost always cheaper than the water damage, mold, or structural issues that follow when they are ignored.
A checklist also gives you something a quick glance never can: consistency. Following the same steps every time means you build an accurate picture of your roof’s condition over time, which is useful for planning repairs, filing insurance claims, or simply knowing when it is time to call someone in. It is worth clearing up a common misconception too. A roof that is not actively leaking is not necessarily a healthy roof. Plenty of serious issues develop quietly for months before they ever show up as a stain on the ceiling.
Exterior Roof Inspection Checklist
Start outside, since this is where most visible wear shows up first. A pair of binoculars is often enough to check most of this from the ground, though a closer look is sometimes needed for full confidence.
- Roofing material. Check shingles for cracking, curling, or missing pieces, along with dark streaks that can signal moss or algae. On metal roofs, look for rust, dents, or panels that seem loose. On tile or slate, check for cracked or broken pieces.
- Flashing and sealant. Examine the metal flashing around chimneys, walls, and roof valleys for rust, cracks, or separation. Check that sealant around flashing is intact, without gaps or dried-out cracking.
- Gutters and downspouts. Clear gutters let water drain properly, while clogged ones can send water back under the roofline. Check for secure attachment and take note if you see an unusual amount of shingle granules collecting inside, which can mean your shingles are aging.
- Vents, chimneys, and skylights. Anything that penetrates the roof is a potential leak point. Check the seals around plumbing vents, look at chimney masonry for cracks, and inspect skylights for cracked glass or condensation between panes.
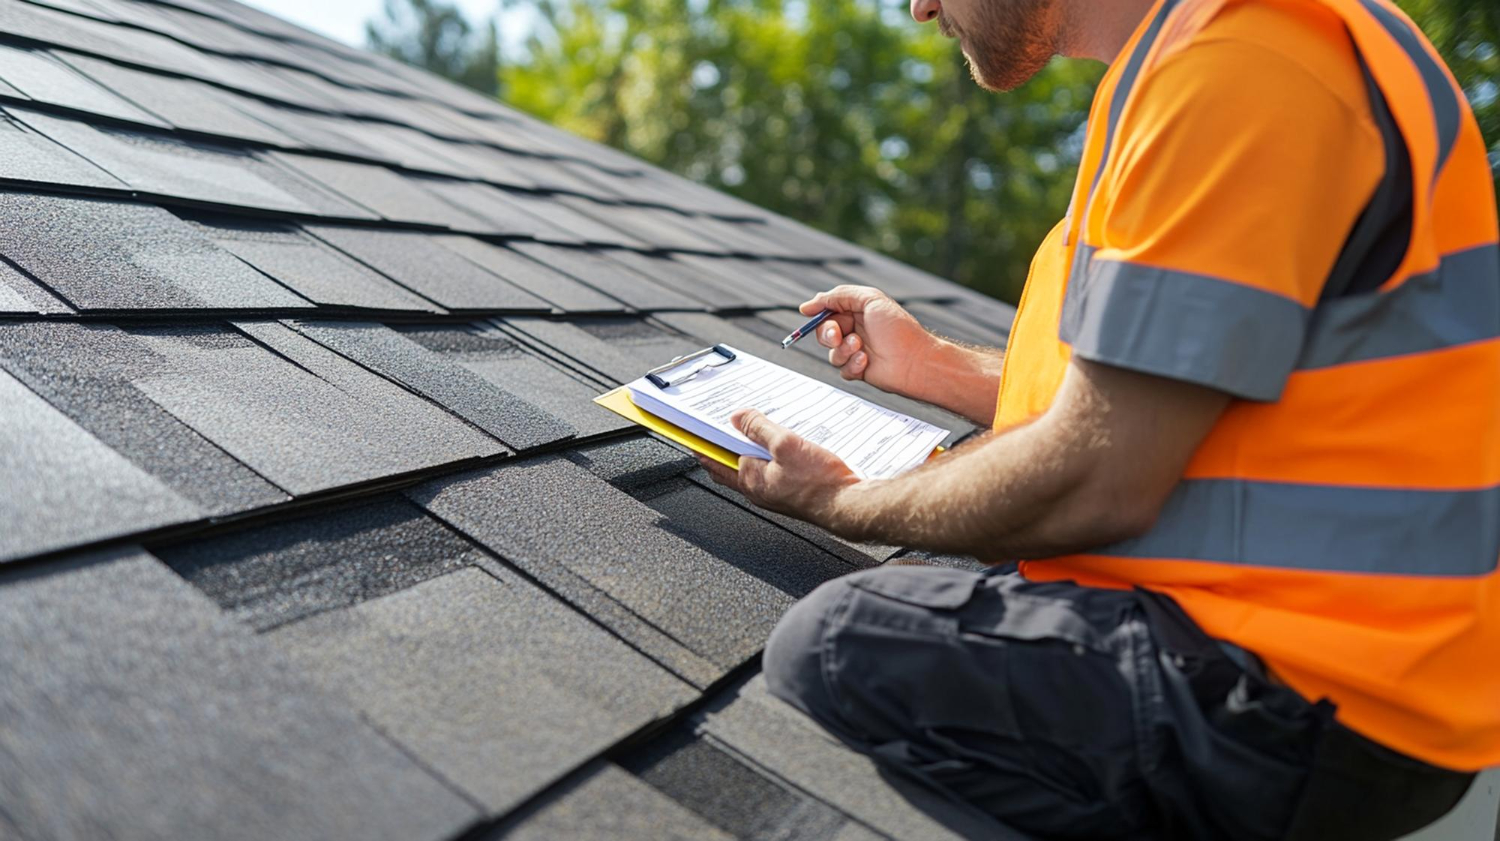
Interior Roof Inspection Checklist
Some of the clearest signs of a roofing problem show up inside the house, not on the roof itself. A flashlight and a trip to the attic can reveal issues long before they become visible from a ceiling below.
- Attic check. Look for daylight coming through the roof boards, which is a clear sign of a gap. Check for water stains, dark tracks on the wood, or damp spots, especially near chimneys and vents.
- Damp or compacted insulation points to a moisture problem and will not perform well until it is addressed.
- Make sure soffit and ridge vents are not blocked. Poor attic airflow contributes to moisture buildup and can shorten the life of your shingles.
- Ceilings and walls. Yellowish stains, peeling paint, bubbling drywall, or a musty smell can all point to a slow leak, even if you have not noticed anything on the roof itself.
How Often Should You Inspect Your Roof
There is no single answer that fits every home. Roofing material plays a role, since asphalt shingles generally need a yearly check while metal or tile can often go a bit longer between inspections. Roof age matters too, since roofs over 10 years old benefit from twice-yearly checks rather than just one. Heavy tree coverage adds more debris and more reason to inspect often. In a climate like Louisville’s, with humid summers and freeze-thaw winters, spring and fall checks are especially useful for catching seasonal wear before it turns into a bigger issue.
Seasonal Timing at a Glance
A spring inspection helps catch anything winter left behind, while a fall check gets your roof ready before cold weather sets in. Beyond that regular rhythm, always inspect after a major storm, since wind and hail damage is not always obvious from the ground. For a full breakdown of seasonal exterior maintenance beyond just the roof, our seasonal home maintenance checklist covers the rest of the house.
Common Roof Inspection Mistakes to Avoid
A few habits separate a thorough inspection from one that misses something important.
- Overlooking hidden damage. Fascia boards, flashing seams, and areas around vents often show wear before it becomes visible anywhere else.
- Skipping safety precautions. A roof is not the place to cut corners. Skip the ladder entirely if the pitch is steep or conditions are wet, and call a professional instead.
- Failing to document findings. Photos of anything unusual give you a reference point for tracking changes over time and make it much easier to explain an issue to a contractor or insurance company.
DIY vs. When to Call a Professional
Plenty of this checklist is safe and reasonable to do yourself. A ground-level visual check with binoculars, a look through the attic, and keeping an eye on your ceilings all fall into that category.
Some things call for a trained eye. Subtle hail damage, flashing issues, and anything on a steep or multi-story roof are best left to a professional who has the right safety equipment and experience. It is also worth having a professional handle the inspection if you are filing an insurance claim or preparing for a real estate transaction, since a documented, professional report carries more weight than a homeowner’s notes.
Quick Reference Checklist
| Area | What to Check |
| Roofing material | Cracked, curling, or missing shingles; rust or dents on metal |
| Flashing and sealant | Rust, cracks, gaps, or separation |
| Gutters and downspouts | Clogs, granule buildup, secure attachment |
| Vents, chimneys, skylights | Cracked boots, crumbling mortar, seal failure |
| Attic | Daylight through boards, moisture stains, insulation condition |
| Ceilings and walls | Water stains, peeling paint, musty smell |
Frequently Asked Questions
What is included in a roof inspection?
A thorough inspection covers the roofing material itself, flashing and sealants, gutters and downspouts, vents and chimneys, plus the attic and interior ceilings for signs of moisture or damage.
How often should a roof be inspected?
Most homes benefit from an inspection at least once a year, with twice-yearly checks recommended for roofs over 10 years old or homes with heavy tree coverage.
What are the most important things to check when inspecting a roof?
Flashing, gutters, and attic ventilation tend to be the areas most likely to hide developing problems, since damage here is not always obvious from a quick glance.
Do I need to get on my roof myself, or can I inspect from the ground?
Many common issues can be spotted from the ground with binoculars, but a closer look at flashing, sealants, or subtle damage is safer and more reliable with a professional.
Final Thoughts
A roof inspection checklist turns a quick, easy-to-miss glance into a consistent habit that protects one of the most expensive parts of your home. Checking the same areas each time, both outside and in, makes it far easier to catch small issues while they are still simple to fix. If anything on your checklist leaves you uncertain, it is worth contacting your local roofer.