
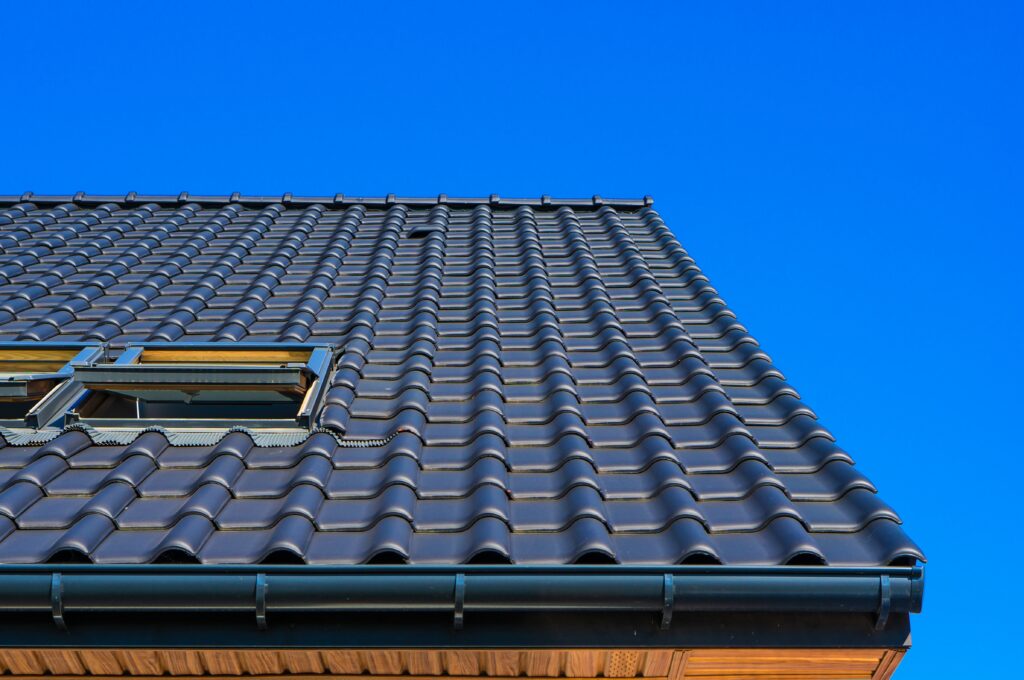
A roof drip edge is an unassuming but important ticket in roofing. In roofing, homeowners typically focus on the high-ticket items, such as shingles, gutters, or solar panels. Occasionally, however, it is the less obvious pieces that are the cause of big effects on roof performance and longevity. The roof drip edge is one such piece.
Even though it does not seem like much, it serves a major function in diverting water from your roof structure, preventing leaks, and increasing the lifespan of your roofing system. Knowing the various roof drip edge types, their purposes, and the process of installing them can assist homeowners in making the right decisions when replacing or installing a new one.
What Is a Roof Drip Edge?
Let’s first understand what a roof drip edge is before walking through roof drip edge types.
A roof drip edge is basically a small metal flashing installed along the edges of a roof. The primary function is to control water flow, directing it away from the fascia and into the gutter system.
By doing so, it prevents water from seeping under shingles or damaging the roof deck and structural elements of the home. They’re typically made of aluminum, galvanized steel, or copper. A drip edge is installed under the first row of shingles and over the roof decking.
While it may seem minor, it is now a requirement in most modern building codes due to its importance in protecting homes from water intrusion.
Material choice affects price as much as performance. Based on national pricing data, homeowners can generally expect the following, per linear foot, according to This Old House:
- Aluminum: about $0.30–$1.00 per linear foot
- Galvanized steel: about $0.50–$1.20 per linear foot
- Copper: about $3.50–$9.50 per linear foot
Aluminum remains the most common choice for its balance of cost and corrosion resistance, while copper is reserved for homeowners prioritizing appearance and longevity over upfront price.
Purpose of Roof Drip Edges
A roof drip edge may seem like a small detail, but it serves many critical purposes, all of which improve the long-term health and performance of the entire roofing system. Here are some of the most common purposes of roof drip edges:
- Protects Fascia and Soffit: Redirects water away from the roofline to prevent rotting wood and mold.
- Improves Water Drainage: Channels water into the gutters rather than allowing it to drip freely or pool.
- Prevents Ice Dams: By ensuring proper water flow off the roof edge, a drip edge helps reduce the buildup of ice at the eaves during freeze-thaw cycles, a real concern for Louisville and Cincinnati winters. Source: Alsco Metals and This Old House.
- Prevents Pest Intrusion: Closes off the roofline and fills gaps to keep out insects, rodents, or small animals.
- Enhances Roof Durability: Shields underlayment and decking from rain and wind-driven moisture.
- Supports Roofing Material: Provides a clean, sharp edge for shingles and helps them lay properly.
- Improves Roof Longevity: Reduces moisture damage that can shorten the roof’s lifespan.
Building codes in many U.S. states now require drip edge installation on new roofs, and for good reason. Without a proper drip edge, water can infiltrate roof layers and cause damage that isn’t immediately visible, leading to costly repairs down the line.
Roof Drip Edge Types
There are several roof drip edge types, and each has its own pros and cons, designed for specific functionality for particular roof styles. Which one is right for your home depends on several considerations, including your roof’s pitch, design, and gutter system.
Here are some of the most common roof drip edge types used in residential roofing:
Type C (L-Style Drip Edge)
It’s the simplest roof drip edge type, designed at a 90-degree bend, giving it an L shape. Due to its shape, it’s also called “L-style,” which is often used in older homes for its suitability with roofs without fascia boards.
- Best Used For: Low-slope roofs or retrofits
- Material Options: Aluminum, galvanized steel
- Pros: Easy to install, cost-effective
- Cons: Limited water control compared to newer designs
Type D (T-Style Drip Edge or D-Metal)
Type D is the most common roof drip edge type, typically installed on modern homes for its sleek design. The forward lip of this roof drip edge type redirects water more efficiently. They’re T-shaped with a wider flange that directs water away from the fascia.
Notably, the Asphalt Roofing Manufacturers Association (ARMA) leans toward Type D over Type C as its go-to pick for residential jobs — the extra flange holds water back from the fascia better — but that doesn’t rule Type C out, since most codes still allow it.
- Best Used For: Steep-pitch roofs, asphalt shingles
- Material Options: Aluminum, steel
- Pros: Superior water deflection, supports shingle overhang
- Cons: Slightly more expensive
Type F (Gutter Apron or F-Style Drip Edge)
These are ideal for replacement or reroofing projects of existing roofs, designed to cover the edge of the roof deck with an extended flange that directs water directly into the gutter. Aluminum is often the preferred material.
- Pros: Covers old wood edges, easy for gutter alignment
- Cons: Less aesthetic on visible rooflines
Custom Drip Edges
These are preferred by many homeowners for aesthetics in uniquely shaped roofs. Cooper or custom-bent fabrications are usually used for their durability and appearance. They’re best for designer roofs or historic homes.
- Pros: Elegant look, long-lasting
- Cons: High cost, requires expert installation
Standard Drip Edge Sizes and Code Requirements
Choosing the right type is only half the equation, size matters just as much. Undersized drip edge can let water bypass it entirely, while oversized drip edge can interfere with proper drainage.
The International Residential Code (IRC), Section R905.2.8.5, sets the baseline standard for drip edge sizing used across most U.S. jurisdictions:
- Minimum flange width: code sets 2 inches as the floor for the horizontal piece that tucks under the shingles and over the deck, though 3- or 4-inch options exist if your home sees a lot of wind or rain.
- Standard lengths: most homeowners will end up with 10-foot pieces for a full run, while 8-foot pieces come in handy for small jobs — patching in around a dormer or skylight rather than running a whole eave.
- Material thickness: Aluminum and galvanized steel drip edge typically run between 24 and 26 gauge, with heavier gauges recommended for high-wind regions. Copper is usually specified by weight rather than gauge, commonly starting around 16-20 ounces per square foot.
Source: Roof Maxx’s drip edge sizing guide, which cites the IRC directly.
Always confirm the specific requirements in your local building code before purchasing materials, as some municipalities add stricter requirements on top of the IRC baseline.
Drip Edge vs. Rake Edge: What’s the Difference?
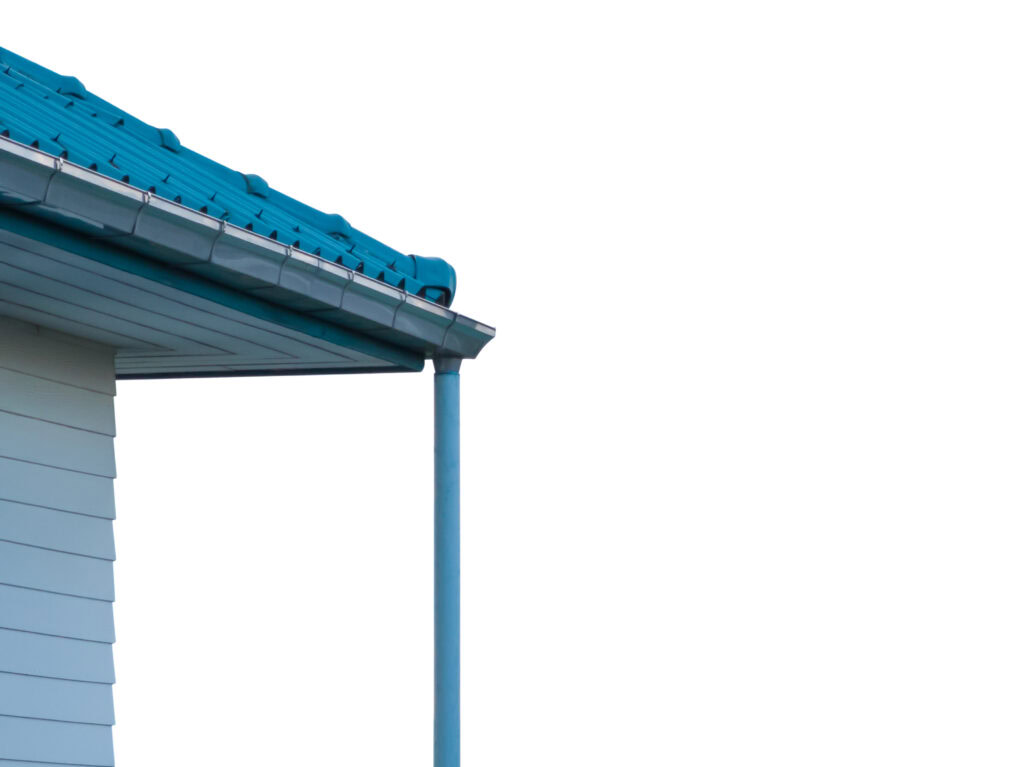
It’s an easy mix-up, since both use the same metal, the same profiles, and often go up on the same job. What separates them is simply where they sit. Drip edge lives along the eaves the low horizontal edges of the roof — and its whole purpose is getting water into the gutter below.
Rake edge, by contrast, runs up the sloped gable ends, where there’s no gutter to catch anything; instead of feeding a gutter, it keeps runoff from creeping sideways onto the siding and trim.
The two also go on in a different order on the same project: the eave pieces get installed before the underlayment, while the rake pieces go on top of it, once the underlayment is already down.
How to Install a Drip Edge?
If you want your drip edge to work efficiently, proper installation is critical. It’s the key to getting the full benefit from your drip edge. Usually, you should keep the job in a professional’s hands, but here’s a simplified overview of the process:
- Lay the drip edge along the roof eaves first, securing it under the underlayment and nailing every 12 inches.
- Ensure sections overlap at least 2 inches and bend the metal to fit corners snugly.
- Next, install along the rakes (gabled sides). Here, the drip edge goes over the underlayment for maximum wind resistance.
- Use roofing cement or caulk to seal joints and corners, especially in high-wind areas.
Tools & Materials Needed:
- Drip edge metal
- Roofing nails
- Tin snips
- Hammer or roofing nailer
- Roofing cement or sealant
Signs Your Drip Edge Needs Replacement
Drip edges are durable, but over time they may need to be replaced due to wear or improper installation. Here are some warning signs:
- Visible rust or corrosion, especially on older steel drip edges.
- Water stains on the fascia may indicate water bypassing the edge.
- Loose or warped sections can occur due to wind damage or poor installation.
- Leaks or gutter overflow caused by improper drainage or misaligned metal.
- Animal or insect intrusion into gaps in the edge allows pests to nest.
If you notice any of these issues, it’s wise to have a roofing professional assess the situation.
Installing Drip Edge on an Existing Roof
Installing a roof drip edge on the completed roof is tricky, but definitely not impossible. Using the right approach can get this job done. Here are simple steps for retrofitting roof drip edges on an existing roof:
- Remove the bottom row of shingles carefully
- Slide the drip edge under the shingles and over the roof decking.
- Secure with roofing nails spaced about 12 inches apart.
- Re-seal the shingles using roofing cement for proper adhesion.
This type of installation is best left to experienced contractors, especially to avoid damaging the existing roofing material.
Frequently Asked Questions
Is a drip edge required by code?
In most parts of the U.S., yes — building codes have required it on new roofs for a while now because of how much protection it adds against water getting in. The International Residential Code lays out the baseline sizing most local codes borrow from, but it’s worth a call to your local building department since some areas layer on extra rules.
What’s the difference between drip edge and roof flashing?
Think of drip edge as one member of a bigger family. Roof flashing is the umbrella term for any metal that redirects water away from trouble spots — where a chimney pokes through, around a skylight or vent pipe, or where a wall meets the roof plane. Drip edge is simply the flashing assigned to the roof’s outer edges.
Can drip edge be replaced without removing the shingles?
Yes. The bottom row of shingles gets lifted just enough to expose the old drip edge, the nails come out, the new piece slides into place, and everything gets re-nailed and sealed — no tear-off required. It goes faster with a second set of hands holding the shingles up while the other person works the drip edge free and back in.
Do you use nails or screws for drip edge?
Nails, not screws. Look for roofing nails with a wide head and a ridged shank that grips the wood rather than a smooth shaft that can back out over time, and space them roughly a foot apart.
Why Contact a Professional Roofing Contractor?
You may think installing or replacing your roof drip edge is simple, but you are far from truth. Even a minor mistake can lead to costly damages and legal complexities. Hence, contacting a professional is the right choice. A certified roofer offers:
- Quality material and tools
- Identification of underlying problems
- Guarantees safe & secure installation
- Long-term maintenance support
- Compliance with local codes and proper techniques
Contacting a professional can help homeowners protect their homes with expert roofing and solar solutions. Whether you need a drip edge installed, replaced, or inspected, always go for trained professionals for the best results.
Final Thoughts
Though small in size, a drip edge plays a big role in preserving the health and performance of your roof. Choosing the right roof drip edge type, installing it correctly, and maintaining it regularly can prevent leaks, extend your roof’s lifespan, and save you thousands in repairs.